Other than for colour correction, contrast and cropping, I don’t actually use photoshop to it’s full capacity very often. It’s a powerful tool that can do pretty much anything. Earlier this year I had a really fun shoot that let me use my photoshop skills to the max. This is not a detailed technical walk-through, rather a demonstration of one particular use of the program. I hope you enjoy, and please let me know if you have any questions or comments.
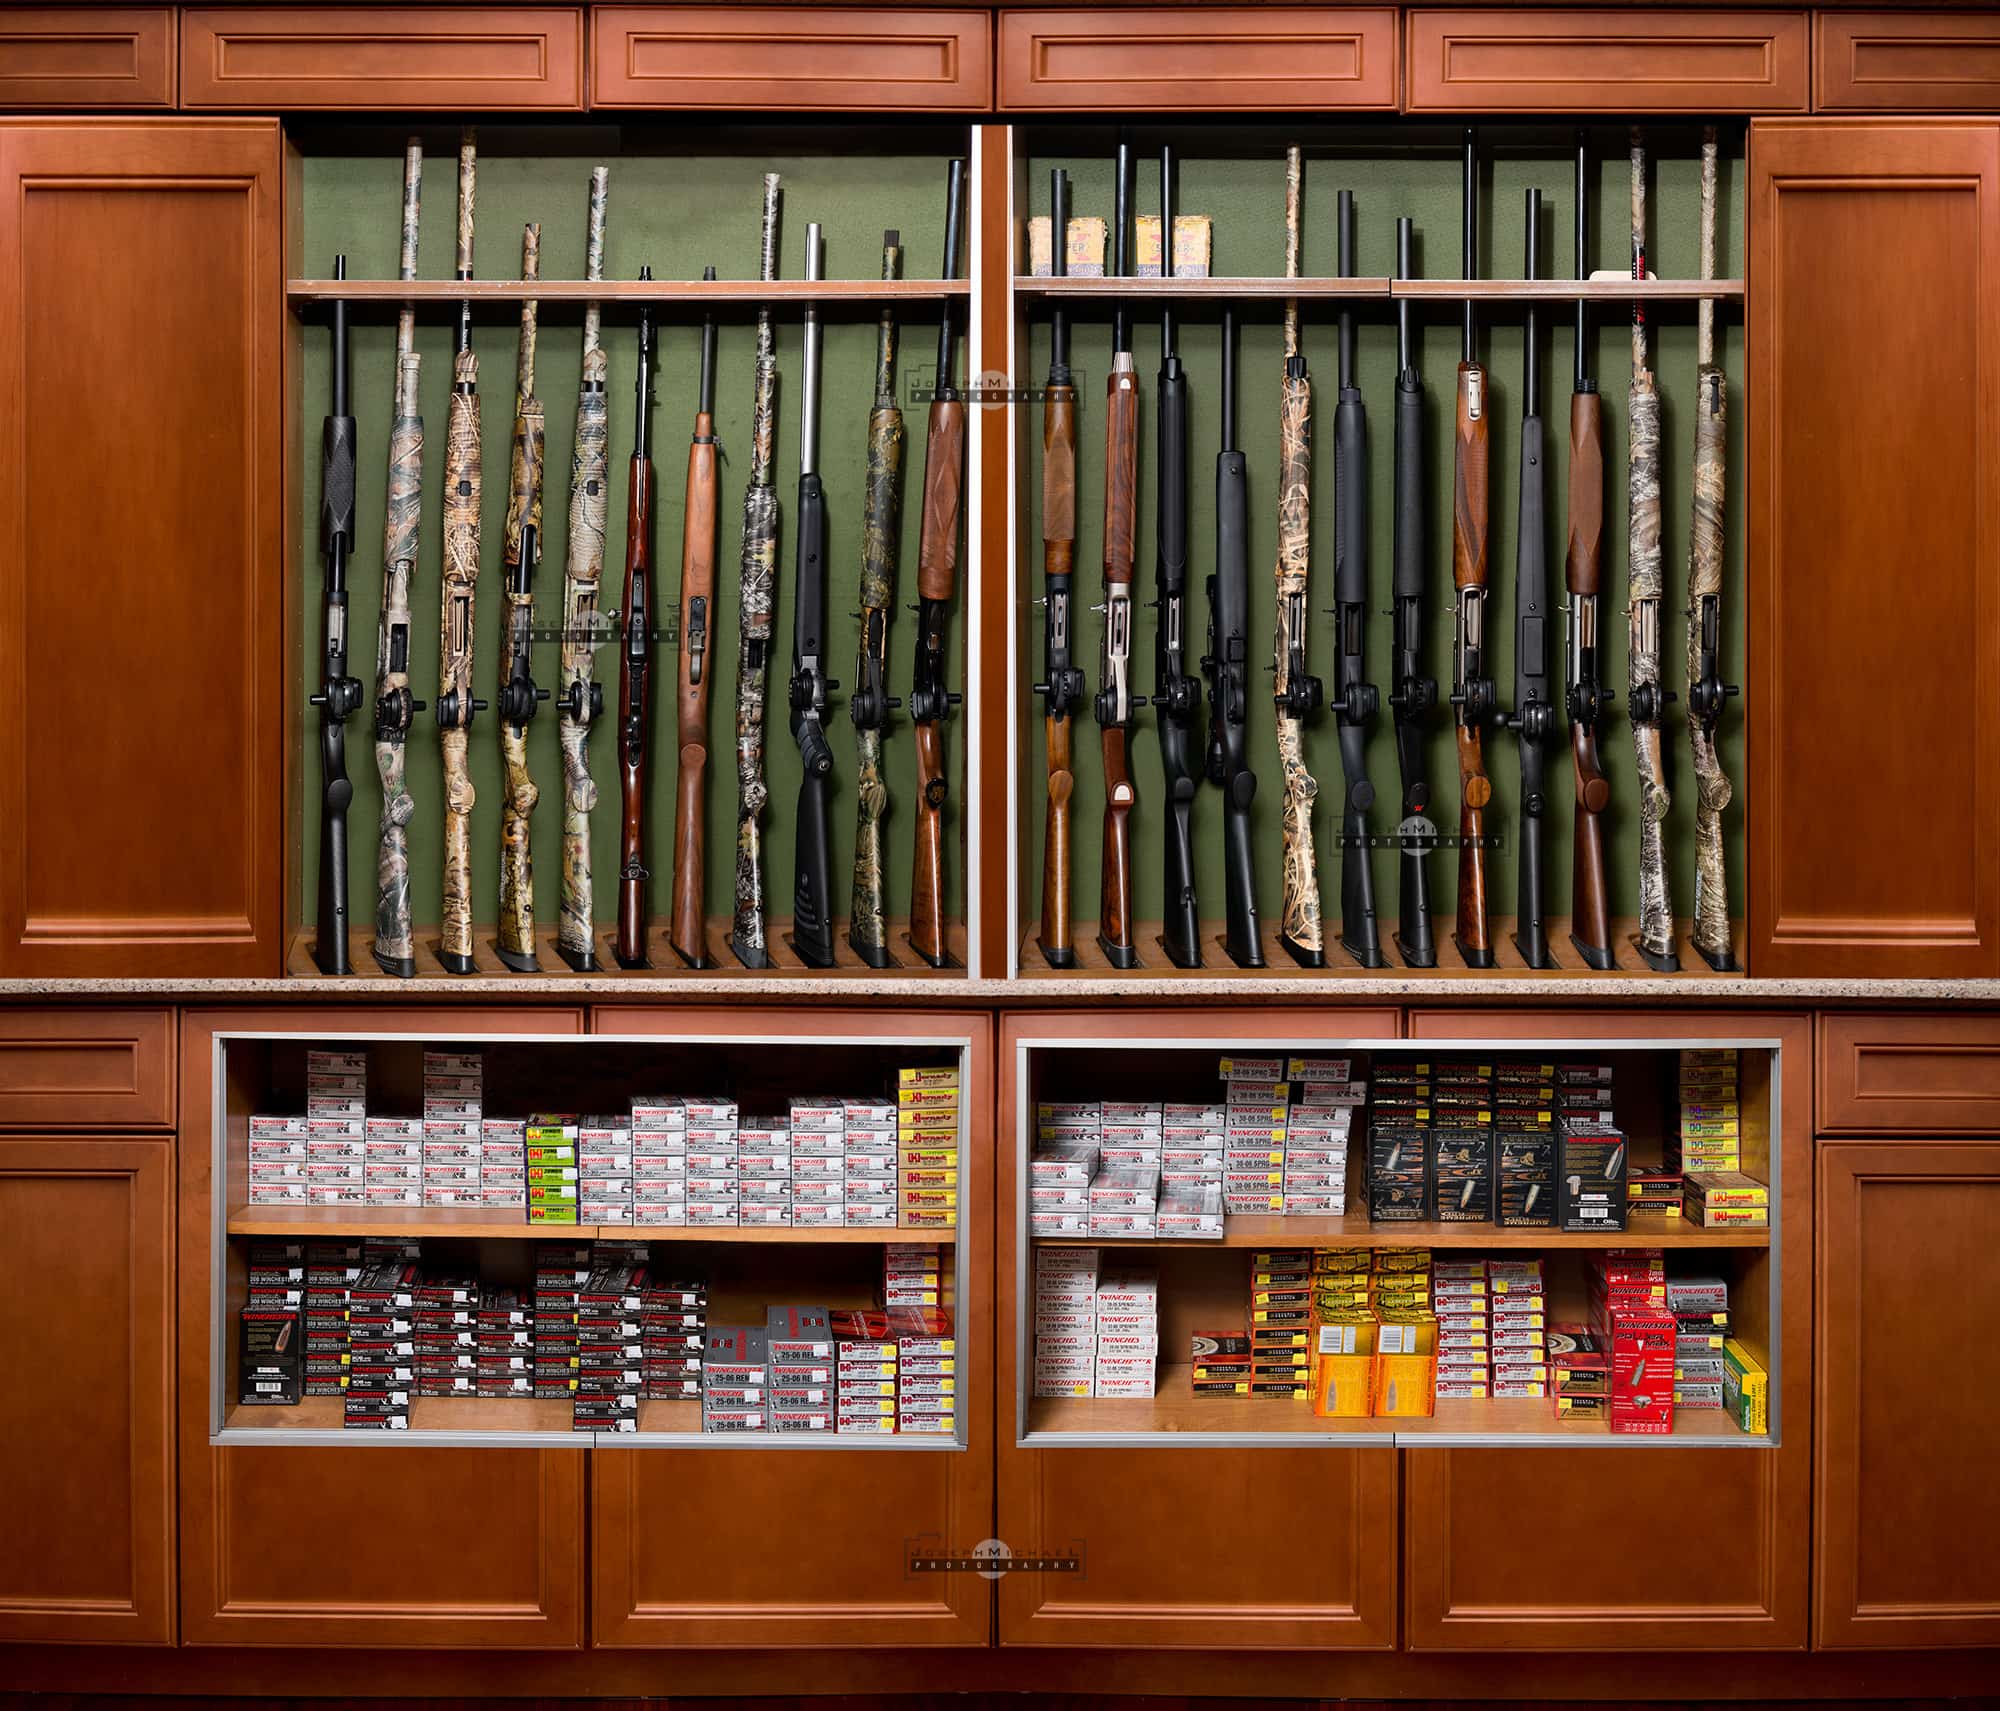
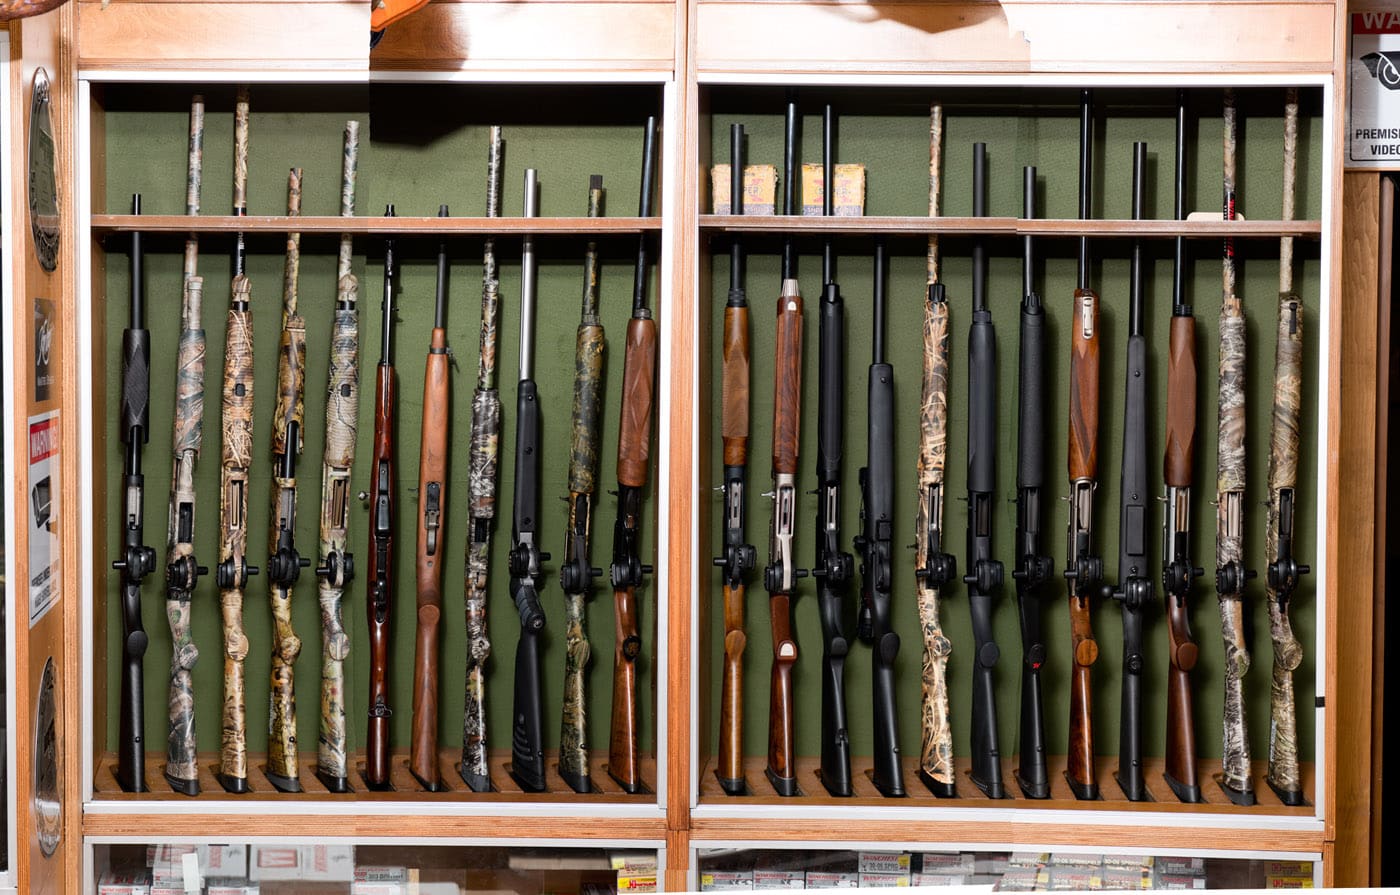
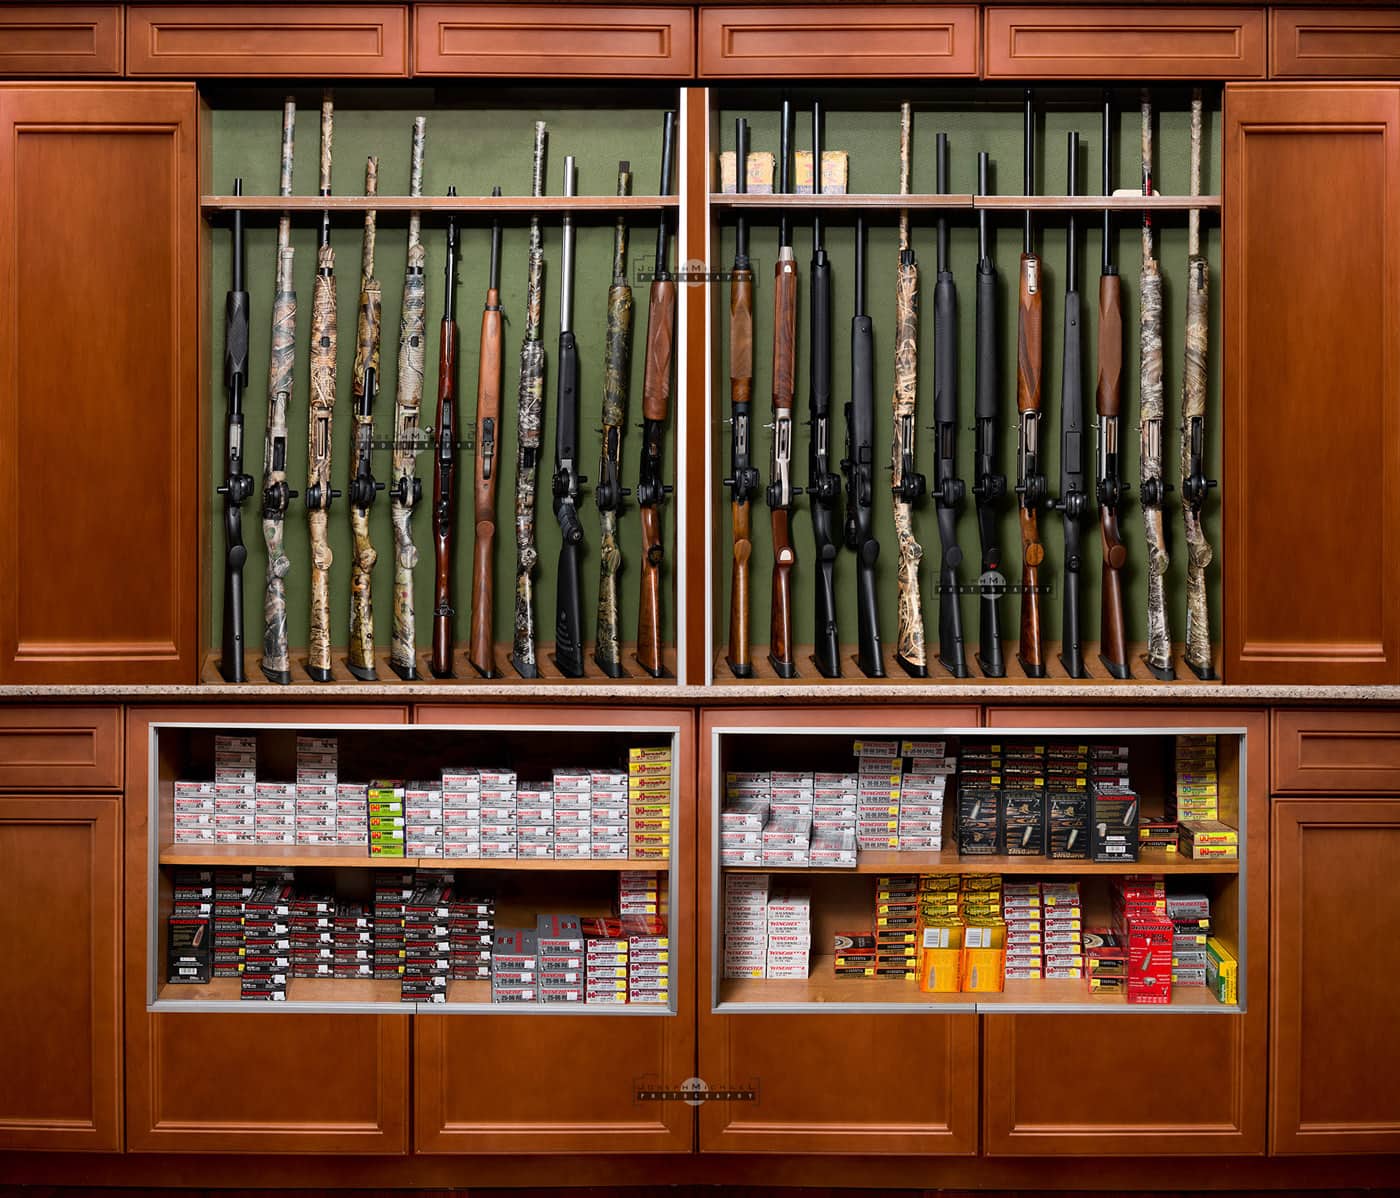
So the assignment was this, the client was looking for a backdrop to be displayed at trade shows. They wanted it to look like someone was walking into a gun shop. The top photo is the final photo and it was printed roughly 10 feet by 12 feet. My final file size was over 1GB and the image was 13000 x 11000 px. Huge.
What I thought I would show you is how I actually created the image and walk you through the steps into making it.
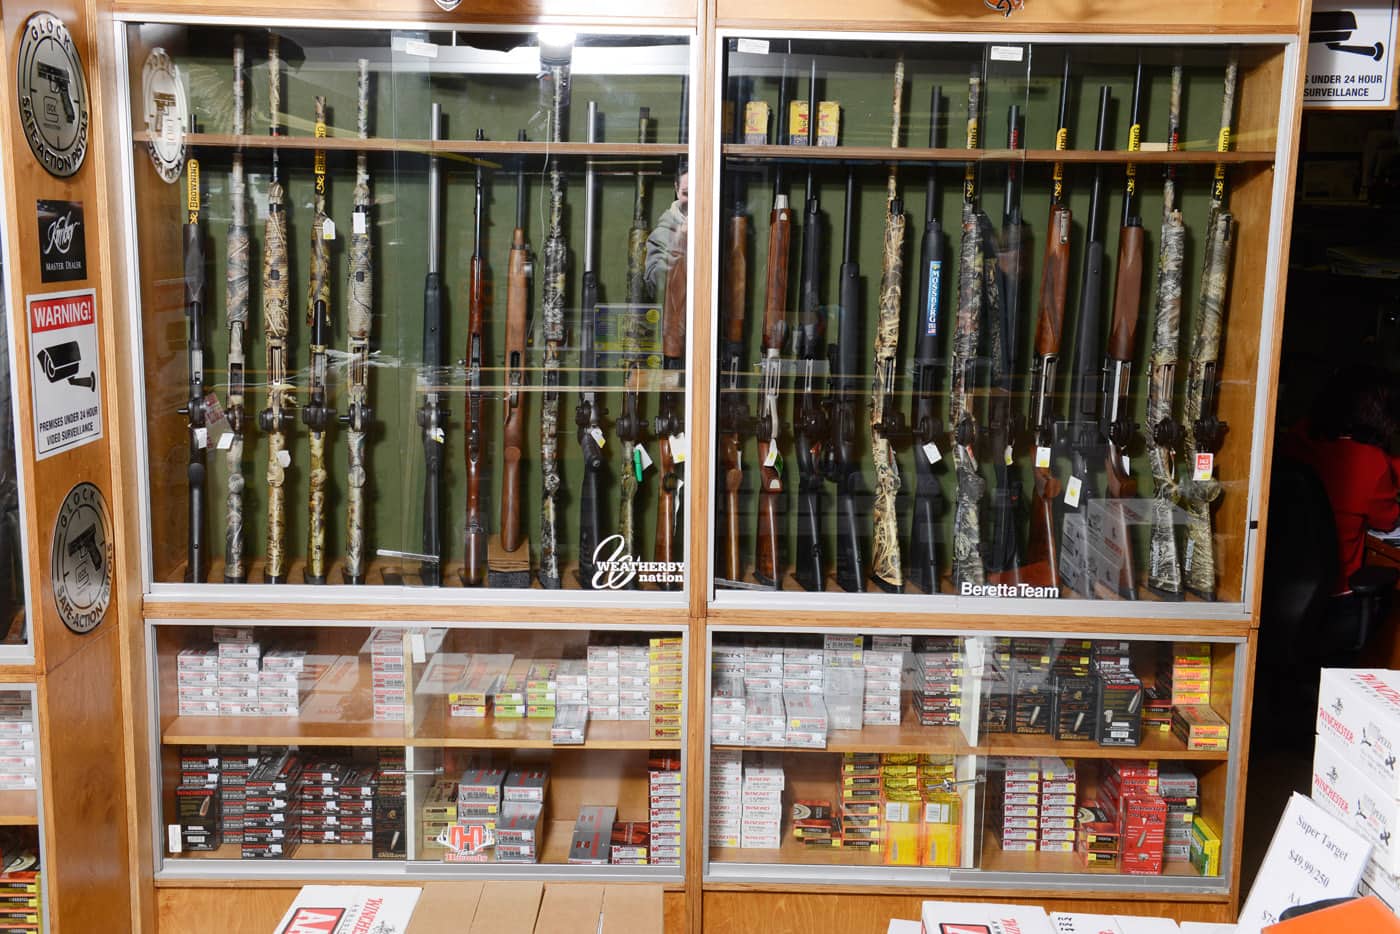
We’ll start with the gun shop we took the initial photos. This is what I working with:
As you’ll notice, the guns were behind sliding glass and we were not able to remove it completely. There is a pretty serious glare and reflection going on. You can actually see me right in the middle of the photo, my flash to the left and the counter in front of me. You can click on any of the photos to see them larger.
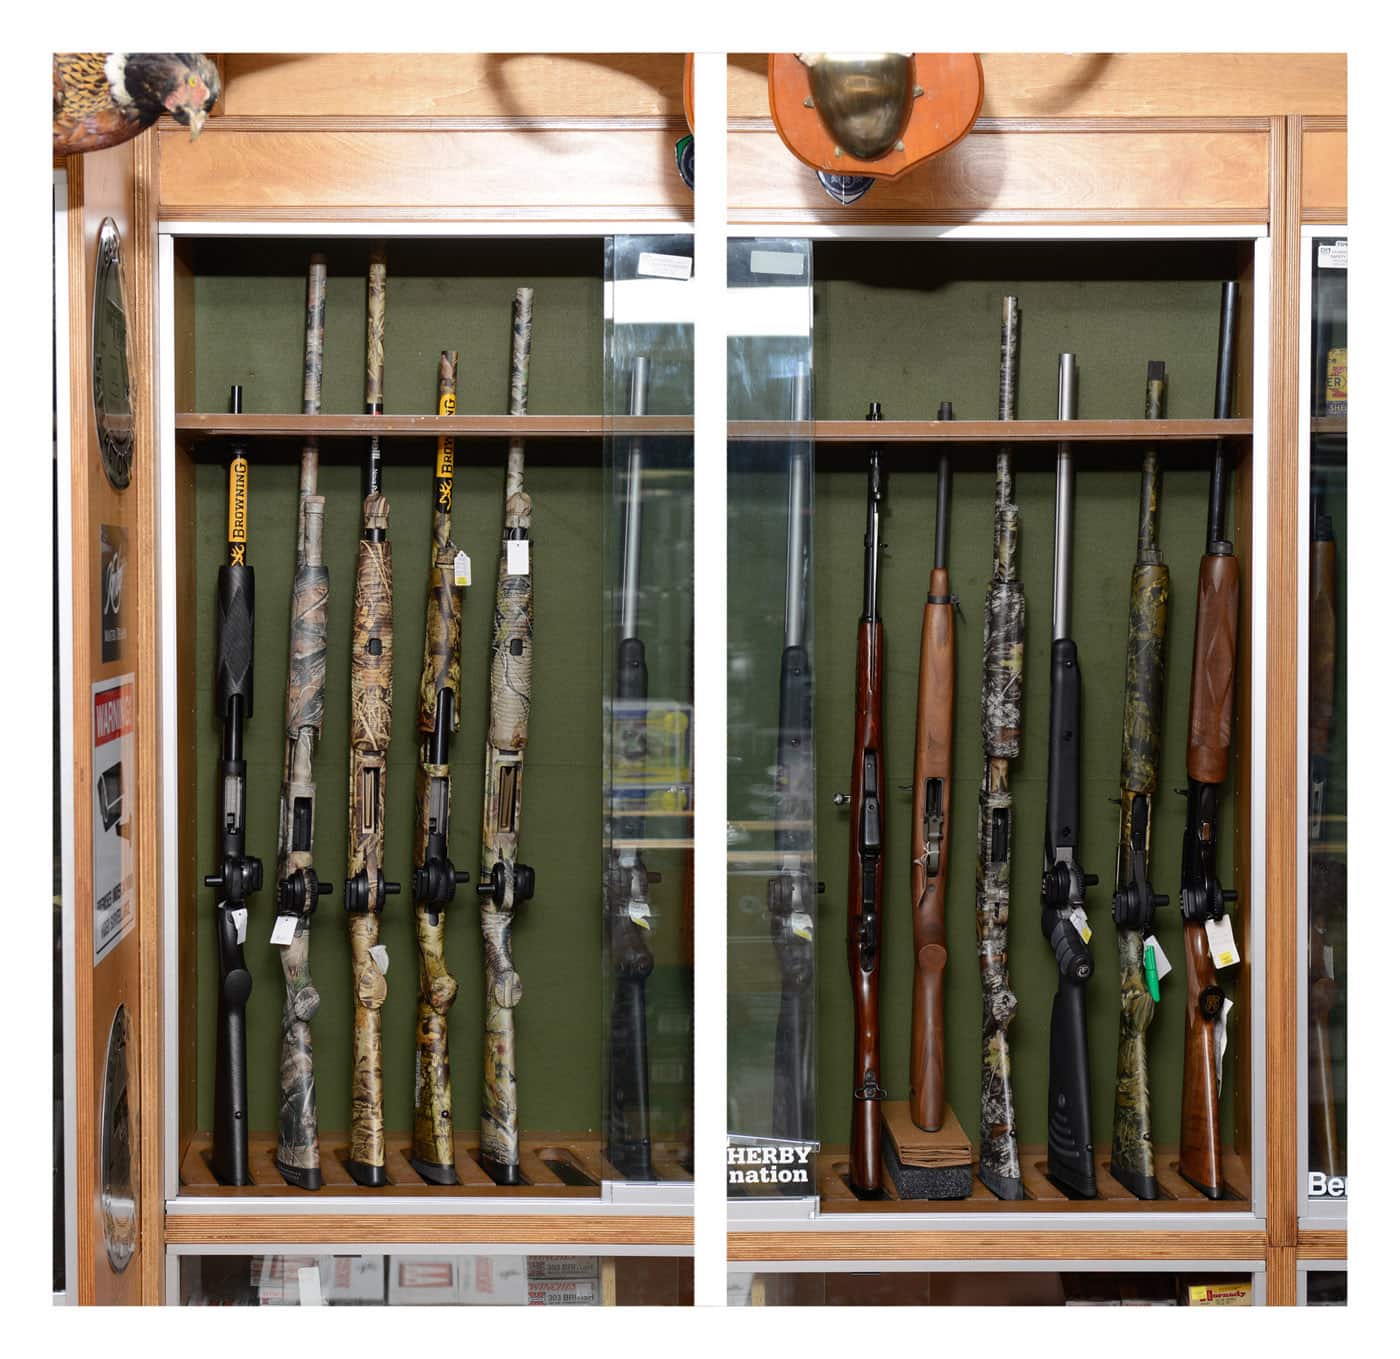
To shoot around the glass, we opened the panels one at a time. Below is actually two photos, side by side, of the left side of the gun display:
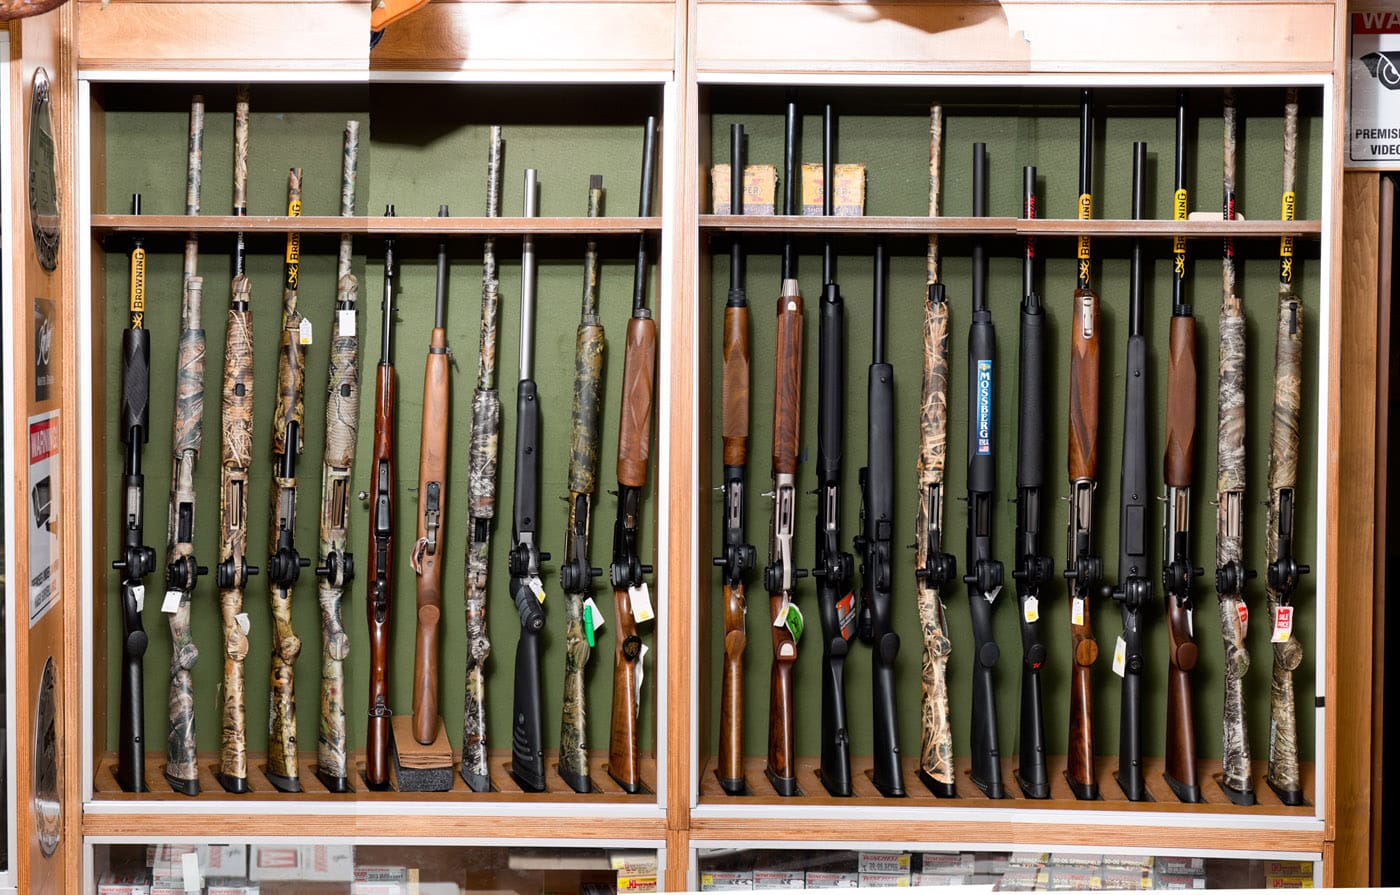
I then put the four individual photos, one of each panel opening, together to make this image:
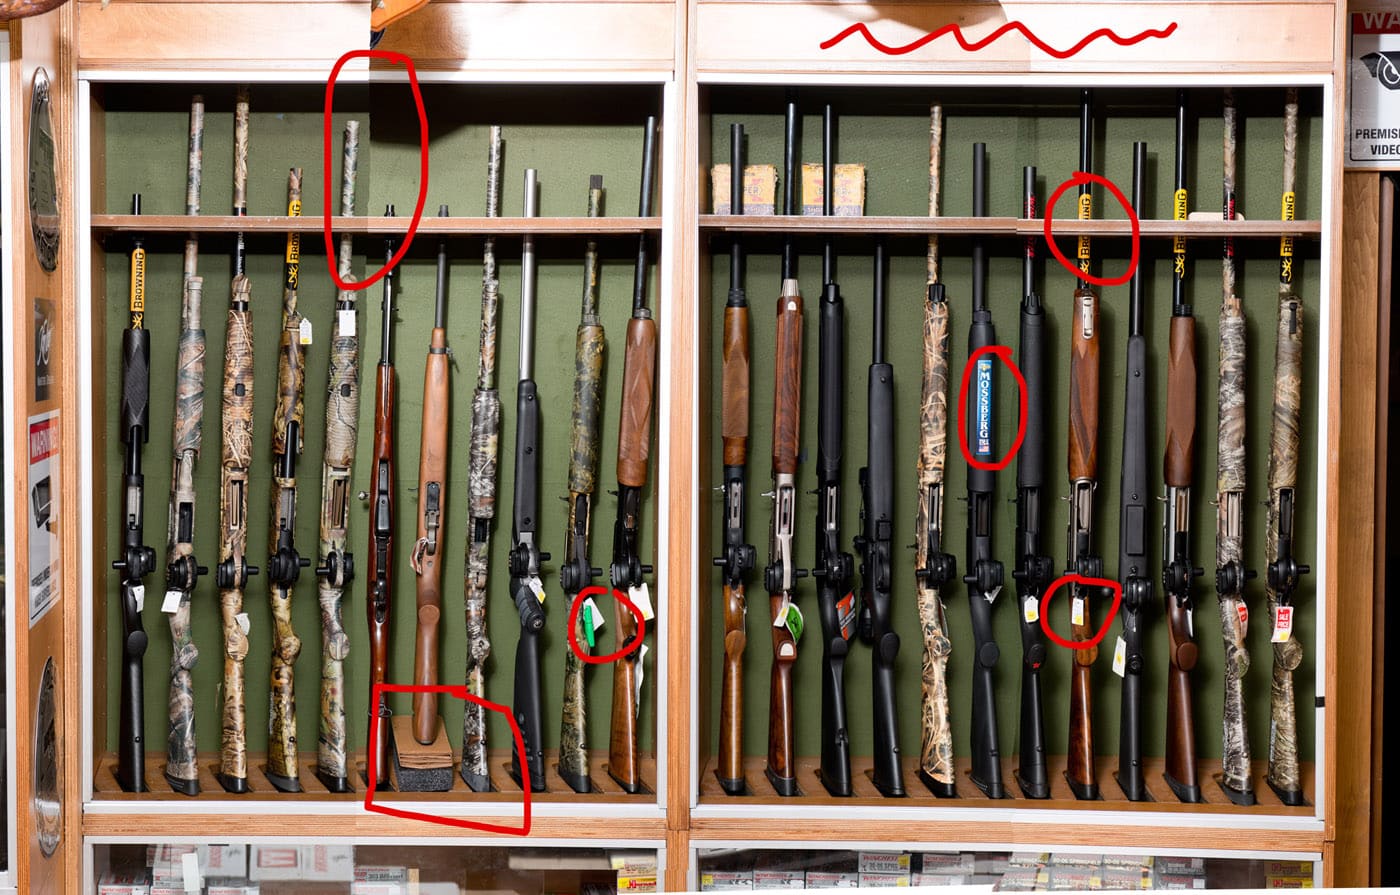
You can see there are some significant seams between the various photos, not to mention the guns still have price tags and branding on them, and the one gun was too short for the rack. I circled some of the flaws in the photo below.
First I wanted to get rid of branding and tags and lengthen that one particular gun.
Next I had to deal with the seam and the inconsistencies between the photos. The photo below is actually the finished gun rack portion of the photo.
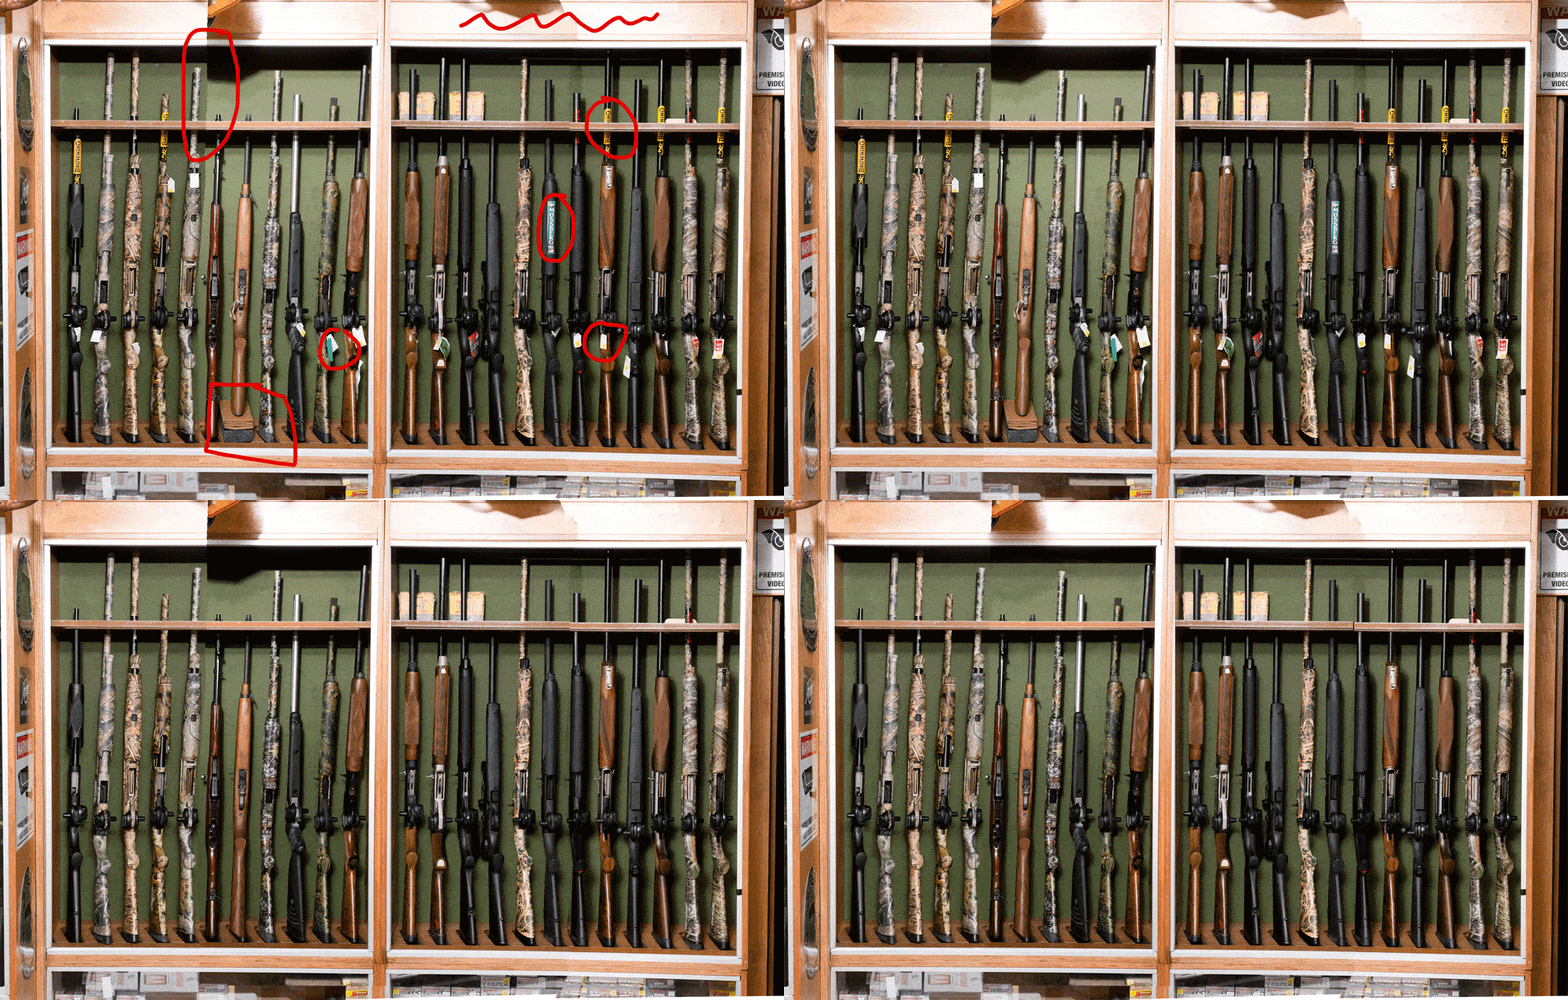
This is an animated series of the same four photos above, the first slide shows the original photo with the flaws circled in red.
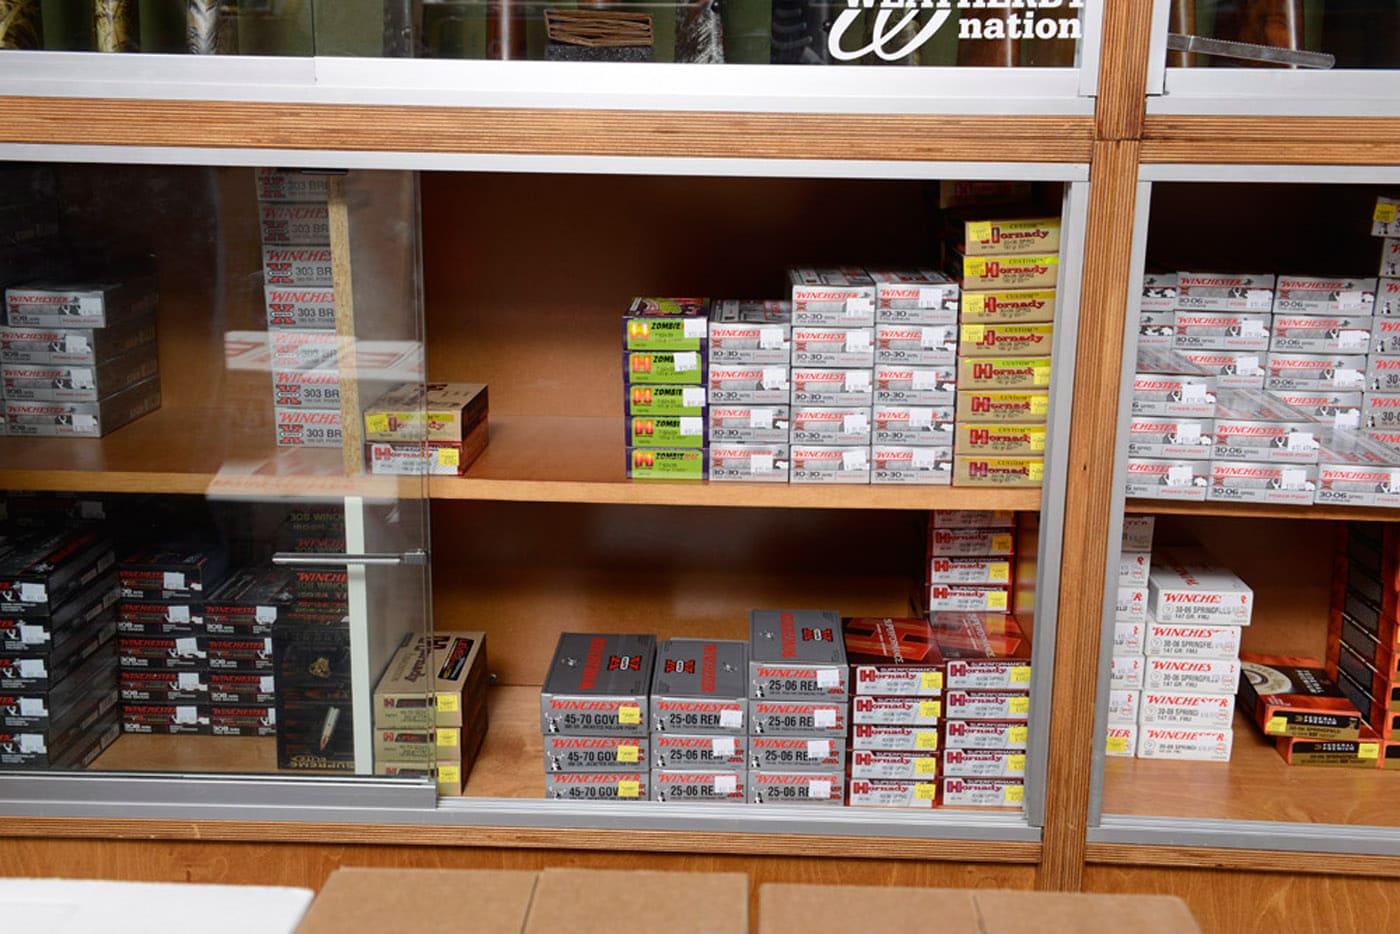
We had the same situation with the gun shells. Glass case limited what we could photograph, so again, I photographed each open panel separately:
When I pieced the four open panel photos together I got this:
The client thought the shelf looked a little too sparse in places and asked me to photoshop in more boxes:
Here is an animation of that transformation:
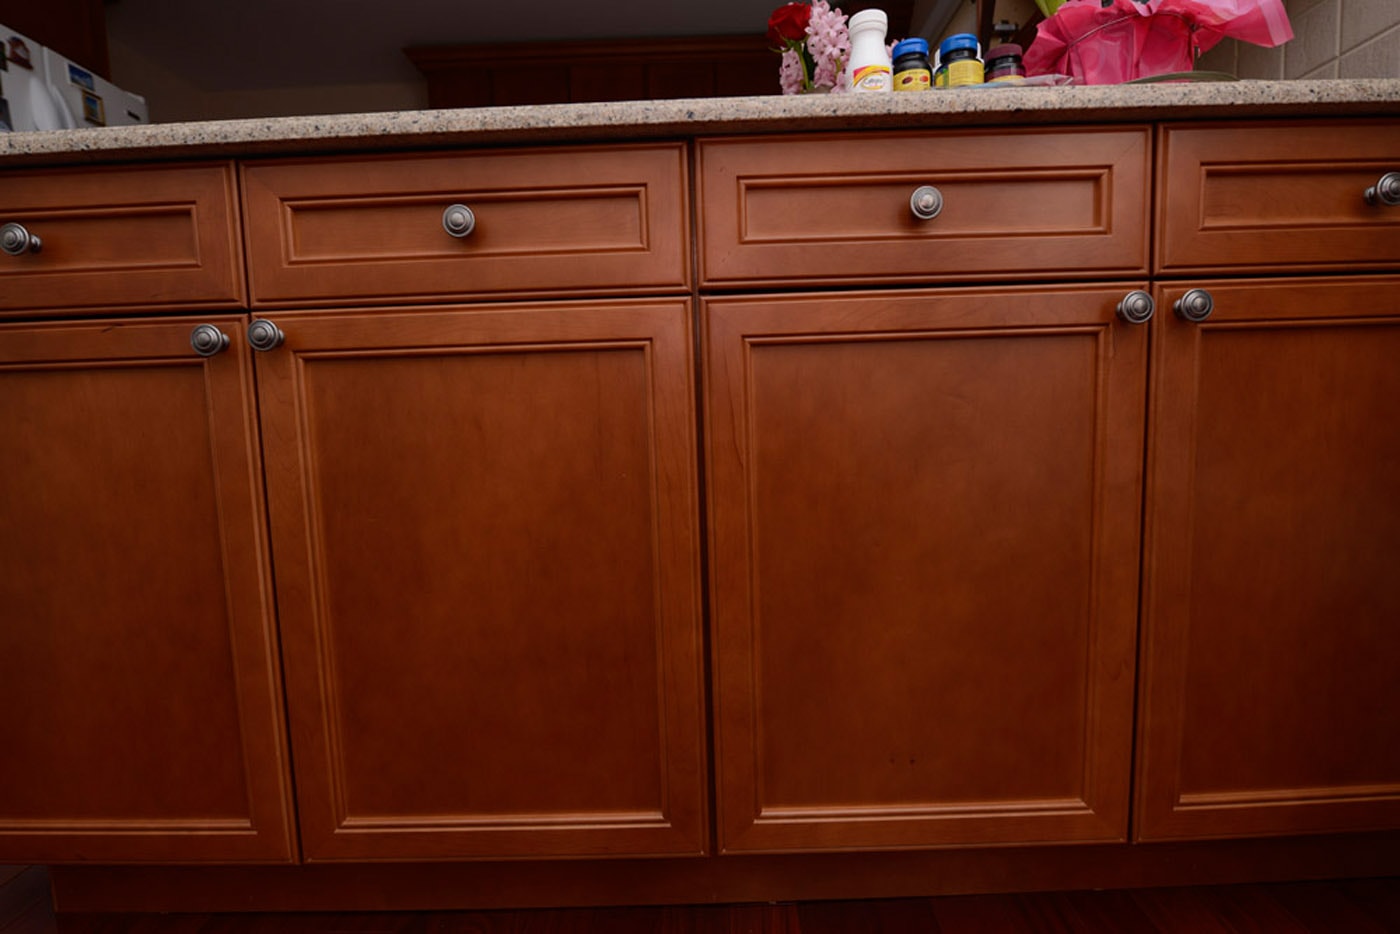
Last step in the process was the surrounding wood. The client specifically wanted a dark, warm, rich kind of wood. The gun shop I started with didn’t really have anything like that, so instead I stopped off at my parents place and took a photo of their kitchen cabinets.
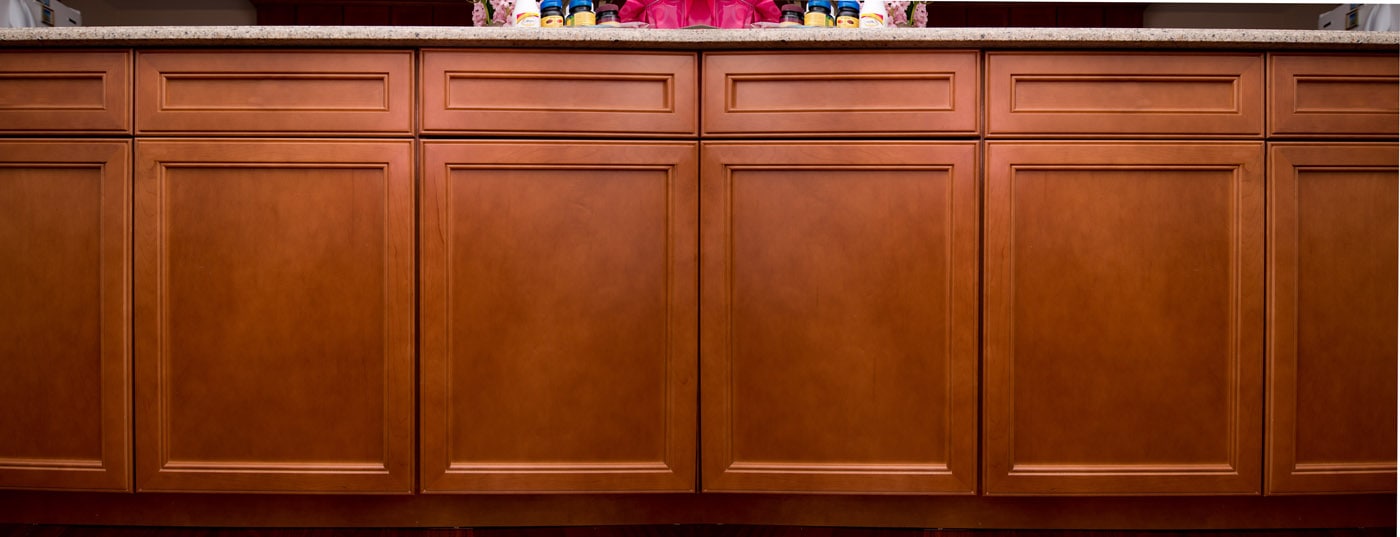
Next, with the perspective function in cropping, and then horizontal flip and copy of the image, we got something more usable. Oh, and I got rid of the knobs.
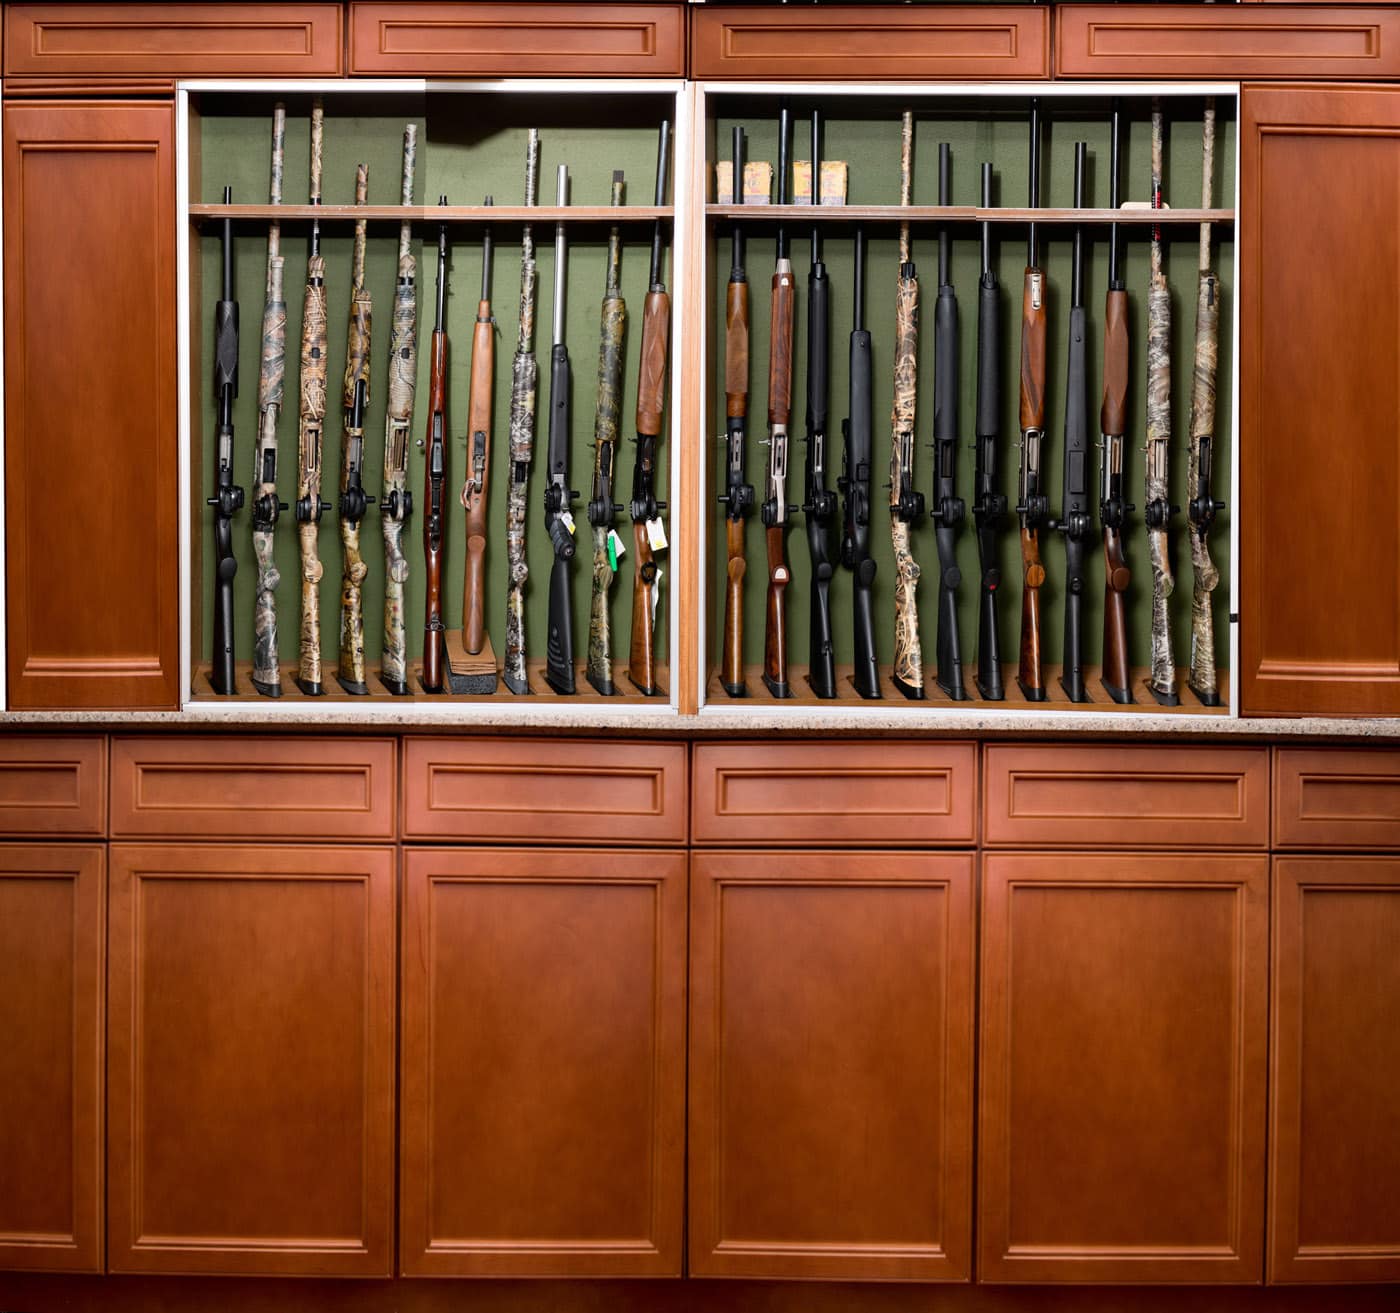
This was an early draft I showed the client, and they loved it. All of the wood in the photo was taken from the above photo, I just played with shapes and sizes.
And finally, once again have a look at the final image:
Photoshop is awesome.
For full portfolio, visit Joseph Michael Photography.

